Purpose:
This guide includes instructions for both Back Office (BO) and Front Office (FO) users on how to implement standalone mode, as well as how to use it. Standalone mode the the function of the register that occurs when there is an interruption in the connection of the application or computer. It allows Y2 to still transact and make sales, which can then be reintegrated upon reconnecting to the internet and the Y2 servers.
Prerequisite set up in BO to enable standalone mode in FO for stores:
FO standalone mode needs to be activated by checking “Authorize standalone mode” in BO -> Settings -> register -> standalone mode.

The register data will also need to be exported locally through this button here. This data includes all of the register information to be used when the register is offline, it should updated on opening and closing of the register.

FO store users entering standalone mode:
The below options may appear if connection is lost during transacting. You will be faced with these 3 options, which (in order left to right) are:
- Standalone mode - to enter standalone mode simply click the standalone mode button
- Restart/ try again - you can also try to reconnect if you believe it was just a temporary issue, by clicking try again, or the middle option
- Quit application/ cancel - this quits Y2 FO and you have closed the application


Please note: When logging in to FO in standalone mode, a username and password are required. These details are the username and password of the staff member ie the same details used when entering the register for sales.
Standalone mode display
The look of the register/ till will also change when entering standalone mode, this may change depending on your company settings, the default setting is similar to this, with a red surrounding the main till area. This will confirm that you are in standalone mode.

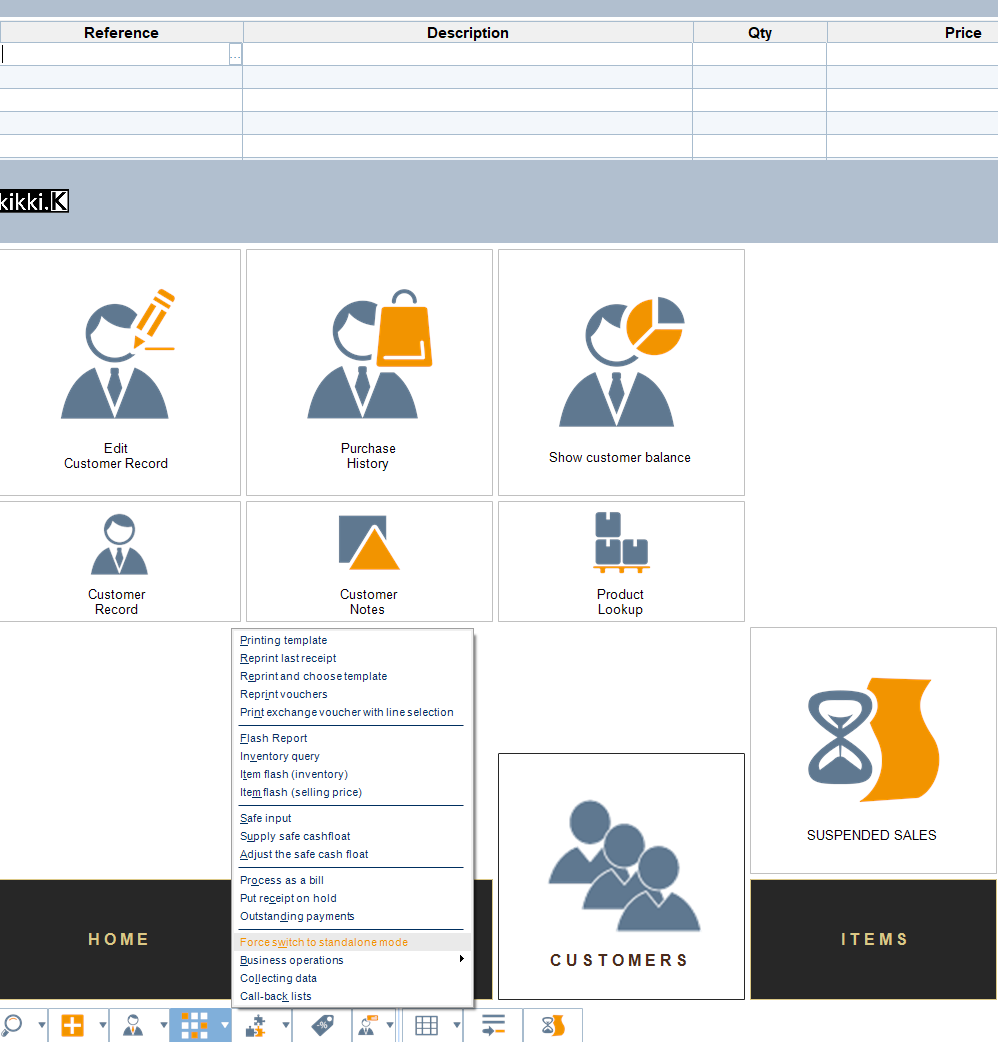
Forcing standalone mode:
It is possible to force the till into standalone mode using the following option from the register/till:

